

 English
 عربى

Can Two Sleeping Pads Fit Inside a Two-Person Backpacking Tent?
“Two person” describes an intended occupancy, but it does not draw the sleeping layout for the buyer. Two narrow tapered pads, two wide rectangular pads and two sleepers with winter equipment create different arrangements. For a lightweight backpacking tent, usable space depends on more than the number printed beside the product name.
The selected Tenplay two-person backpacking tent is shown with a patterned outer shelter and a compact pitched form. Its product description identifies an inner sleeping area and a vestibule. For a retail range, the practical task is to show how the intended sleeping equipment fits inside that actual model, without using an occupancy label as a substitute for a floor plan.
Lay out the pads before counting the gear
Use the sleeping pads planned for the demonstration and record their inflated dimensions. Do not substitute packed dimensions or a nominal size name. Place them inside a correctly pitched sample according to the tent instructions. Check their position at both ends because the usable floor may not be a simple rectangle.
Where pads overlap, curl upward or push against the inner wall, document the arrangement rather than straightening the photograph for appearance. A product image should help a customer understand fit. It should not conceal that the proposed combination only fits when one pad is partially deflated or placed above the other.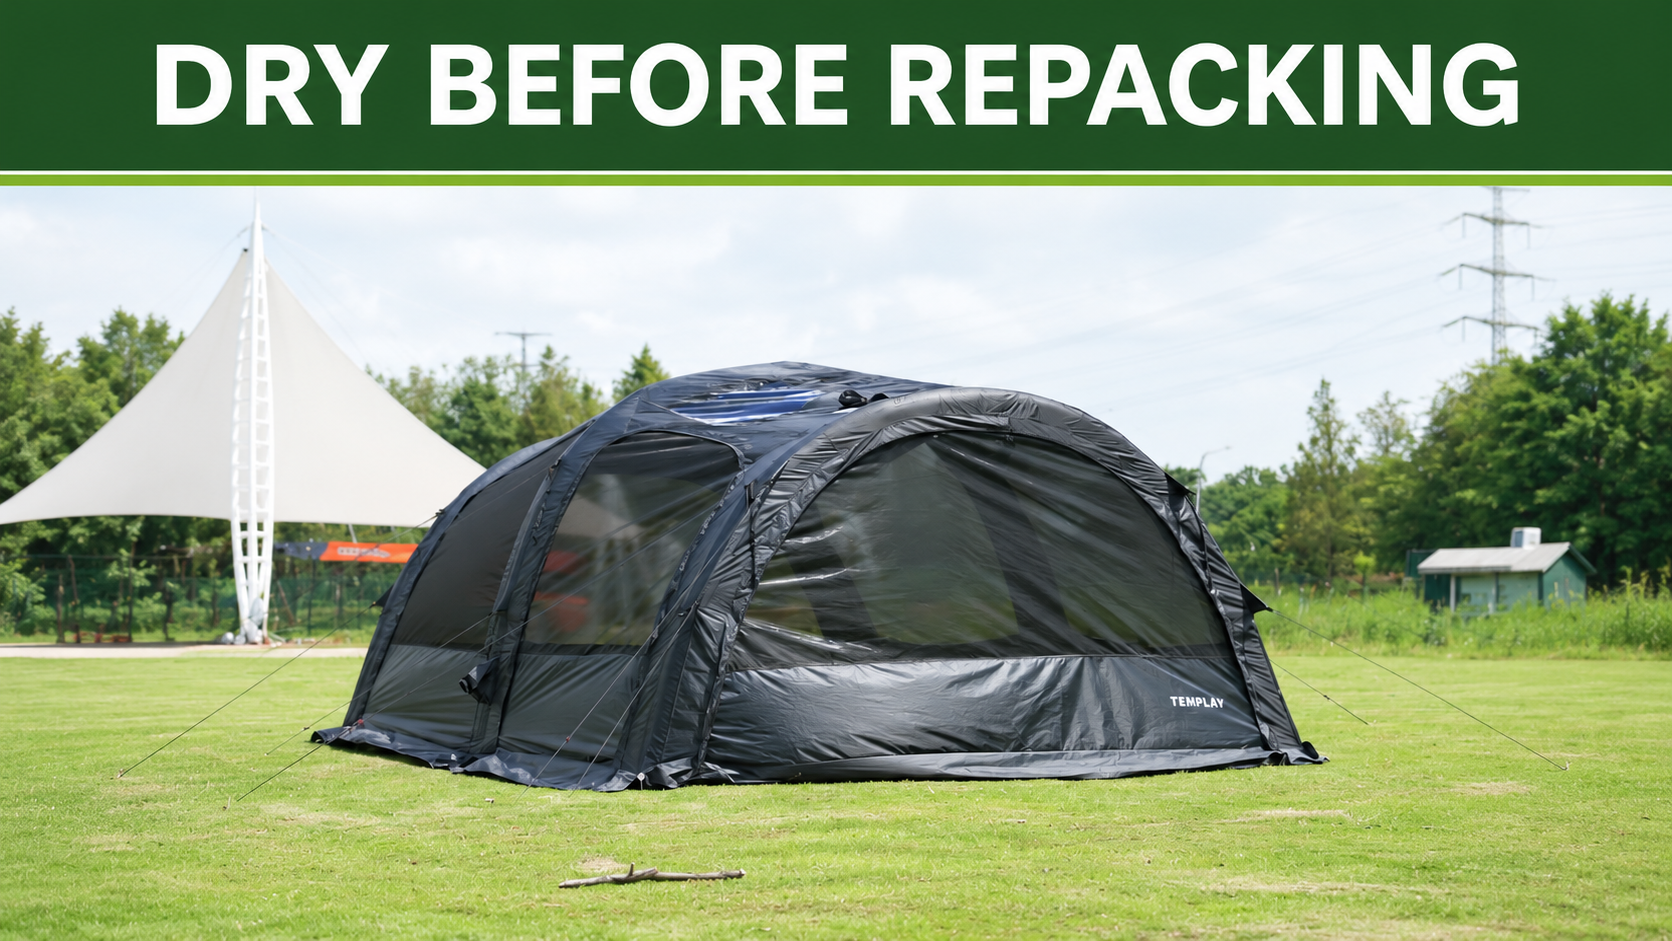
Floor dimensions are only the first layer
The two-person backpacking tent can be reviewed in three layers: the floor, the space at sleeping height and the space above the sleepers. Sloping walls can make a floor measurement look generous while reducing room around a thick pad or a sleeping bag. Record the actual equipment used in any fit illustration.
Height also changes along the tent. A maximum peak measurement does not describe headroom everywhere. For a useful demonstration, show a seated position as well as the pad layout. Avoid claiming that every adult can sit upright in the same place unless the statement is supported by the actual dimensions and intended user range.
| Equipment or activity | What to show on the sample | Why a single dimension is insufficient |
|---|---|---|
| Two sleeping pads | Position at head and foot ends | Floor taper and pad shape matter |
| Sleeping bags | Clearance from the inner wall | Loft occupies space above the floor |
| Sitting up | Actual seated location | Peak height is not uniform headroom |
| Entry and exit | Door access with pads in place | A packed floor can obstruct movement |
Give the vestibule a separate job
The vestibule may provide useful space for footwear or equipment, but it is not automatically equivalent to protected sleeping floor area. Explain what the manufacturer intends it to accommodate and show its actual shape. Large backpacks may occupy the entry route even when they fit beneath the outer shelter.
Do not illustrate cooking inside the tent or vestibule. Fuel-burning appliances can create fire and carbon-monoxide hazards and should be used only in appropriate conditions under their instructions. A convenient-looking sheltered gap is not evidence that it is a safe cooking area.
Keep wet equipment and sleeping equipment distinct in the demonstration. A buyer evaluating a hiking range may want to see where boots or a rain-wet pack could be placed without being mistaken for items kept inside the inner sleeping compartment. Photographs can explain that distinction more clearly than a general claim of spaciousness.
Build a fit demonstration customers can interpret
- Pitch the supplied tent as instructed on a suitable surface.
- Identify the pads and sleeping bags used in the demonstration.
- Photograph the complete floor layout without wide-angle distortion.
- Show access to the door and any internal storage features.
- Add a side view that reveals the wall slope and occupied height.
Use the correct model and production version. If a tent is offered in several sizes or fabric configurations, avoid mixing their photographs in one dimensional explanation. A visually similar outer fly can hide a different inner layout or pole arrangement.
What about the weight claim?
Lightweight products are often compared by a single mass figure. That figure should identify which components are included. Inner tent, fly, poles, pegs, guylines, bags and optional ground protection can change the carried total. Ask for the relevant packing list rather than assuming every published weight uses the same boundary.
Space and weight should be presented as separate characteristics. A light shelter may suit a buyer willing to accept a compact sleeping arrangement. Another buyer may prefer extra room even at a higher carried weight. A clear pad-layout demonstration helps those customers make a choice without turning the article into an unsupported ranking of comfort.
A retailer can make the demonstration more useful by naming the pad dimensions in the image caption rather than claiming a universal fit. Include whether the pads are tapered or rectangular and whether they were fully inflated. Avoid using a lens or camera position that exaggerates the distance between the pads and the inner walls. If the sample layout leaves little room for equipment, show the intended vestibule arrangement honestly. Customers can then judge the trade-off between compact carrying weight and sleeping space using the equipment they actually plan to take.
Put a real layout beside the occupancy label
For a repeat order, keep the approved floor drawing, sample photographs and component list together. If the inner tent pattern, pole geometry or supplied accessories change, review the layout and weight explanation again. An unchanged “two-person” label does not establish that every detail remains identical.
The best fit information is specific enough to reproduce: this tent, pitched this way, with these pads and this sleeping arrangement. That gives a retailer a useful answer to a common customer question and lets the occupancy label introduce the product rather than carry the entire explanation.
Message Us Right Now!
-
Mp: +86-18858091910
E-mail: sales@tenplaytent.com
ADD: No. 529, Guangyuan Road, Xiepu Town, Zhenhai District, Ningbo City, Zhejiang Province, China
-
Quick Links
Home Products About Us Advantage News Contact Us -
Product
Inflatable & Air Tents Glamping & Resort Tents Backpacking & Trekking Tents Automatic & Pop-Up Tents Family & Camping Tents Specialty Tents & Shelters Kids Tents Pet Tents Humanitarian & Large Tents Hammock -
Get Connected
 Camping Tent Manufacturer in China